Have you ever wondered how to successfully sow seeds? How long it takes for the seeds to germinate? What material to use? What substrate to use? What if we told you that you can do it yourself successfully? By following our tips, you can do it, yep 😉
Let’s talk about the benefits of doing your own seedlings, whether for your vegetable garden or your greenhouse. Emeline, our chief agronomist, reveals her tips and tricks to successfully grow your own fruits and vegetables from scratch. But beware, the rhythm of nature is to be taken into consideration, your seeds may not always succeed.
So, ready to sow seeds?
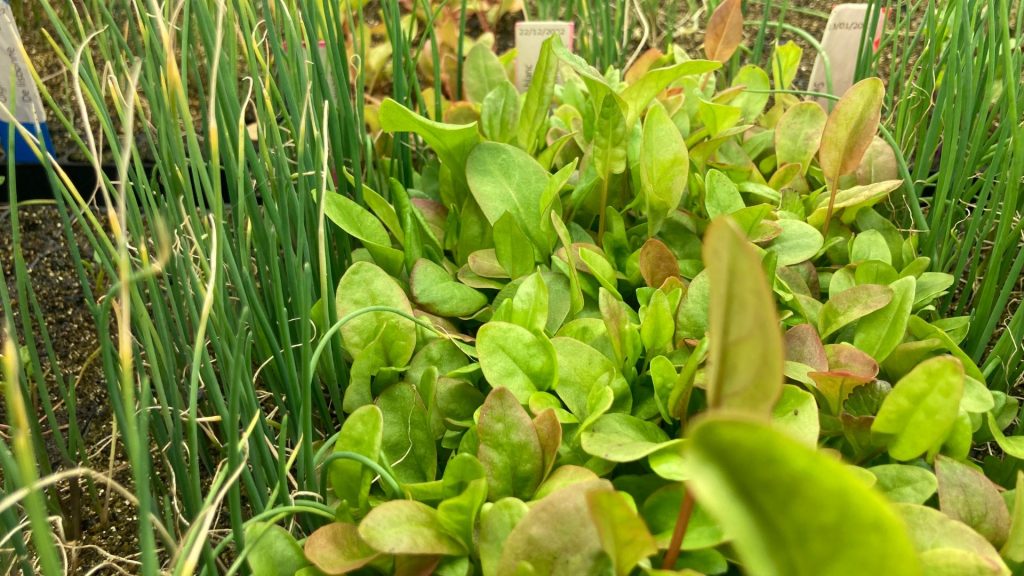
To address this vast subject, we want to share our vision. Let’s talk a little bit about pedagogy. To make its sowing consists in making germinate seeds which you have chosen to make mature plants. The germination of the seedlings varies according to the variety or the species chosen. Attention, to have a good incubation, an adequate temperature is required. This temperature varies according to the type of culture that you wish to make push. When you see at least four leaves on your seedlings or developed roots, your seedlings are ready to be planted in your greenhouse or vegetable garden.
So you’ve helped create beautiful vegetables and plants that will later end up on your plate. Yum😋
Making your own seedlings has many advantages, here are the 4 main ones:
This is the most important one, in our opinion. The seeds have been carefully selected either by you or by our agronomist. They come from committed producers who respect the environment. And they are often of superior quality. For example, if you choose myfood seeds you will only need to plant one seed. Indeed, the germination rate is higher than commercial seeds, for which you often need to sow 2 to 3 seeds to have the chance to see one hatch. Moreover, you can recover your own seeds to sow the following year. Many of our pioneers use this method and thus recycle and use absolutely everything from their crops.
Well, you can only be happy and proud of yourself for the work accomplished. You are the one who follows your crops from A to Z through all phases of production. This is very rewarding. Over time you learn a lot about plants and their development. You will see how different varieties behave and be able to make choices about which seeds are best suited to your environment. What could be more rewarding than knowing that you have participated in the entire process of growing the vegetable on your plate?
You choose the varieties and species you want to grow. Thanks to the planting of your seedlings, you are able to choose all your seeds to sow and especially to adapt them to your soil and to your gustatory and culinary desires. You can plant heirloom tomatoes, edible flowers and cabbage! This also leaves freedom to trade seeds with your gardening friends and exchange information on your respective crops. A bit like the Pokémon cards of our childhood…!
And last but not least: you save money. It goes without saying, but starting your crops from seed is inevitably more economical than buying already available plants.
However, we would be lying to you if we said that starting and growing your own seedlings is easy. It is certainly a rewarding activity but also demanding. It requires a little rigor and especially patience. Some seedlings can take several weeks to germinate. You will have to watch them patiently and above all not give up if it doesn’t work! Because yes, it will not always work the first time and no amateur gardener (or professional for that matter) has a 100% yield. Even if you have all the elements to make it work, there will be a few misses and that’s okay. That’s part of the game!
Having reviewed the pros and cons let’s talk technique. There are several options available to you:
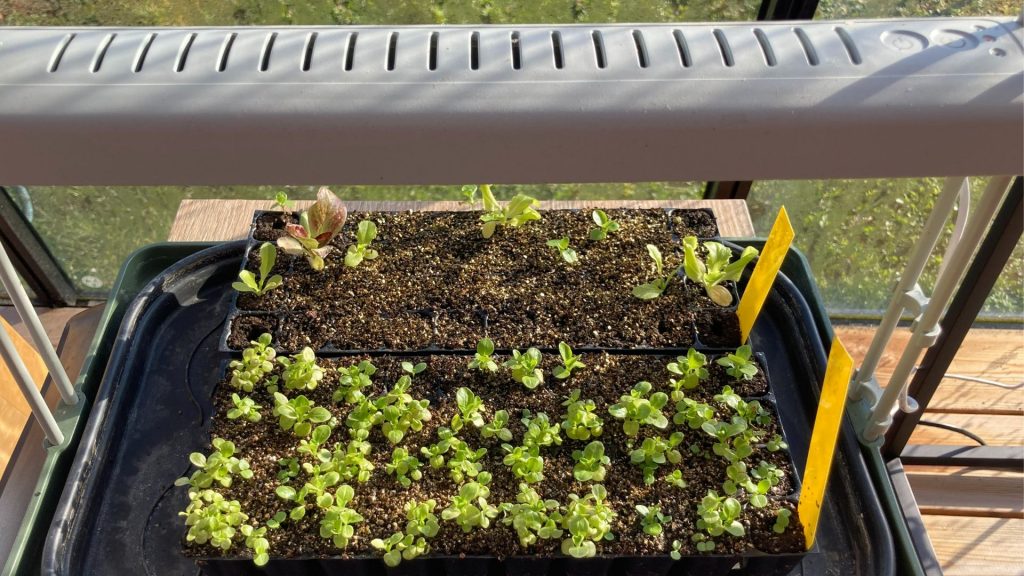
Myfood sells a seedling incubator that allows you to maximize your crops (160 clumps). It allows you to grow up to 80 seeds per tray. Compact and discreet, you can place it either in your greenhouse, if the temperature allows it or in your interior (kitchen, veranda, living room…).
If you don’t have an incubator, you can create your own, but make sure to place it in a very bright room (window facing south) or a dedicated space with a horticultural lamp. Be careful to protect your seedlings, pests or animals can sometimes ravage everything in their path.
You are now ready to start. What’s the protocol?
A seedling plug is made of peat (a rich organic material) and a binder that provides a spongy structure and good water retention. They are shaped like a cone with a square base to facilitate vertical tower cultivation as well as cultivation in containers or in the ground. Several techniques and tools exist to put your seeds in the clods. But let’s do some recycling, take a pen cap. It allows you to fill your seedlings in a precise way. You can of course use your fingers with clean hands! If not, there are also small adjustable dosing devices in the shops.
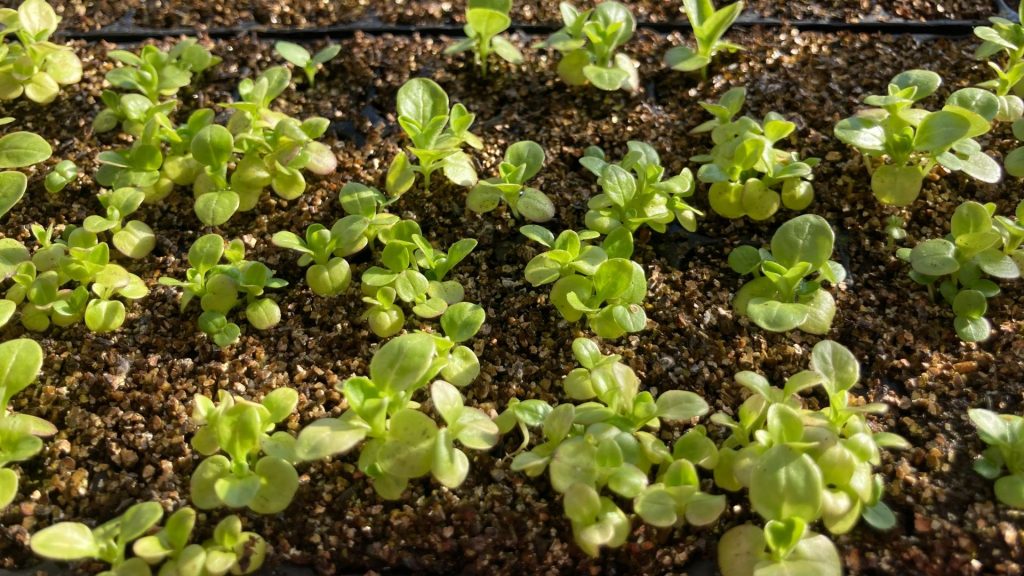
First, put a seed in each clump with your favorite tool. Then cover with a bit of good quality vermiculite by sifting it. The layer should not exceed 1mm to allow the seed to germinate. Above all, be careful not to crush your seedlings. Finally, moisten your tray with a spray bottle and place it under the LED lamp provided for this purpose in the incubator or near a light source (windowsill, veranda).
If you use our incubator, the steps remain the same. However, remember to fill the tray with water every 3 to 4 days. You should also know that the height of the lamp is adjustable. The more the plants grow, the more you should raise the lamp. This is to ensure that the plants always get a maximum of light and avoid spinning. The room in which you choose to put your seedlings has all its importance. In addition to being bright, it must have a temperature of about 15°C to allow the leafy vegetables (salads, etc.) to develop. Ideally, it is necessary 20 to 25°C for the vegetables of summer like bell pepper, eggplant or tomato.
Concerning the duration of germination you find some examples below:
With a temperature between 15 and 20°C =
With a temperature between 20 and 25°C=
Last advice, think of watering regularly, the clumps must remain wet without being drowned. For the artificial lighting, the day is enough. The lamp can be turned off at night. Be sure to gently remove the duplicates if there are any, because only one plant is needed, especially for fruit vegetables.
Now you are ready to sow, so don’t hesitate! The adventure will be beautiful 😊
")
")


")